
I have now been making sourdough for about a year, and it has gotten to the point where I have grown a little tired of making the same exact loaf week after week, and I constantly want to try new flavor combinations. As you can see on my Instagram, I have made loaves flavored with black garlic, olives, roasted garlic, and rosemary, (along with some others that did not work out too well), but I wanted to go really bold with my latest creation.
I based this recipe off of my favorite sourdough recipe from Vanilla and Bean. It is far simpler than many recipes I have seen and turns out perfectly every time. However, I have been experimenting with how far I can push the ratios of various flours, adding less white flour and more whole wheat and rye flour, without destroying the structure of the loaf, and it turns out, I could go pretty far. These experiments have been partially to get more fiber into my diet, but mostly to earn my health-food-loving mother’s approval. In fact, her nearly pathological need to put turmeric in every dish she ever made for me growing up inspired this most recent loaf.
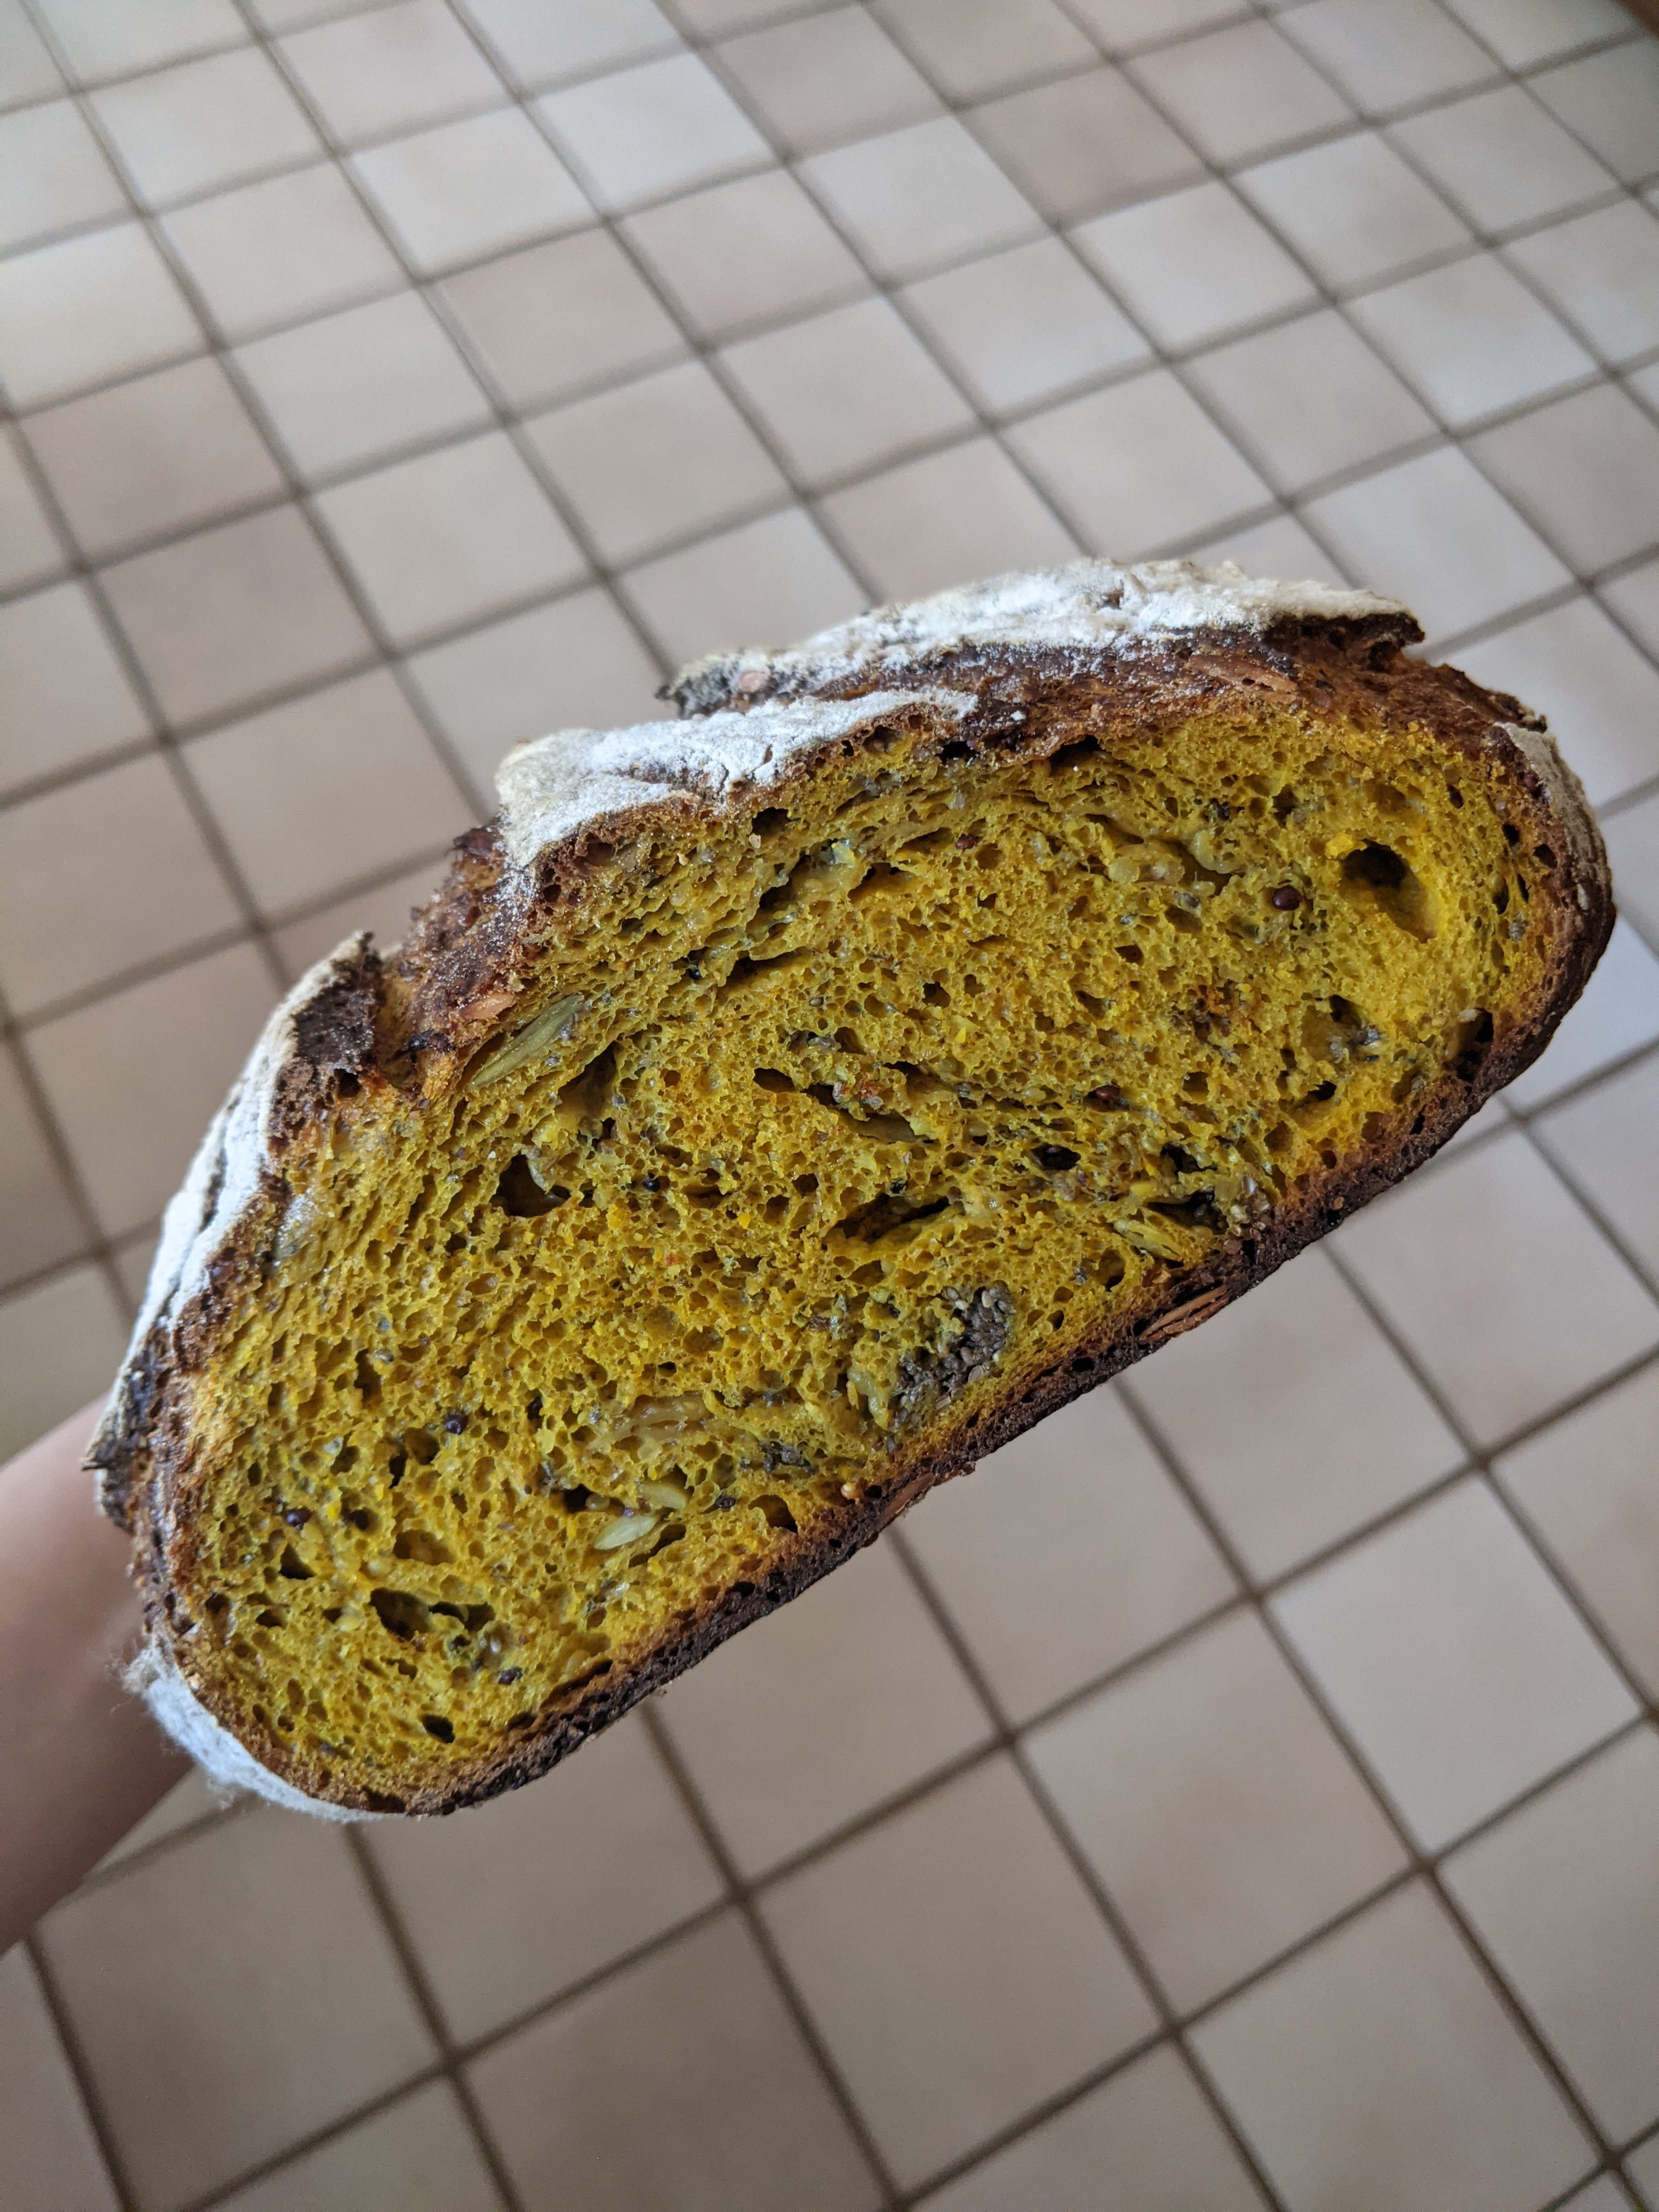
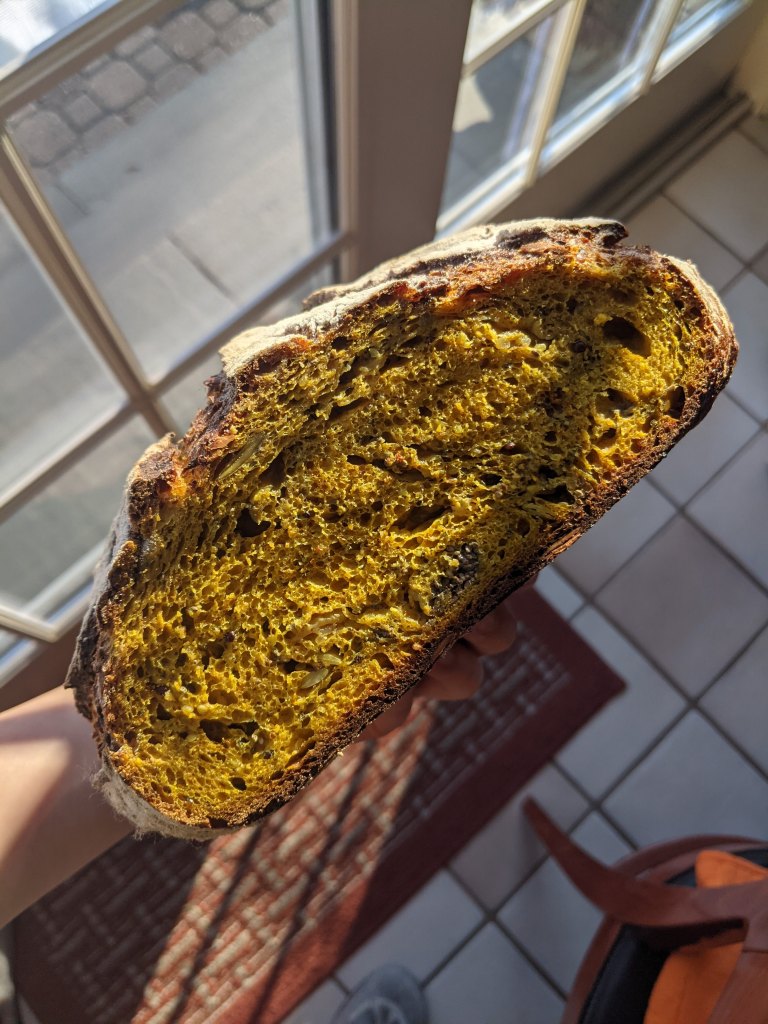
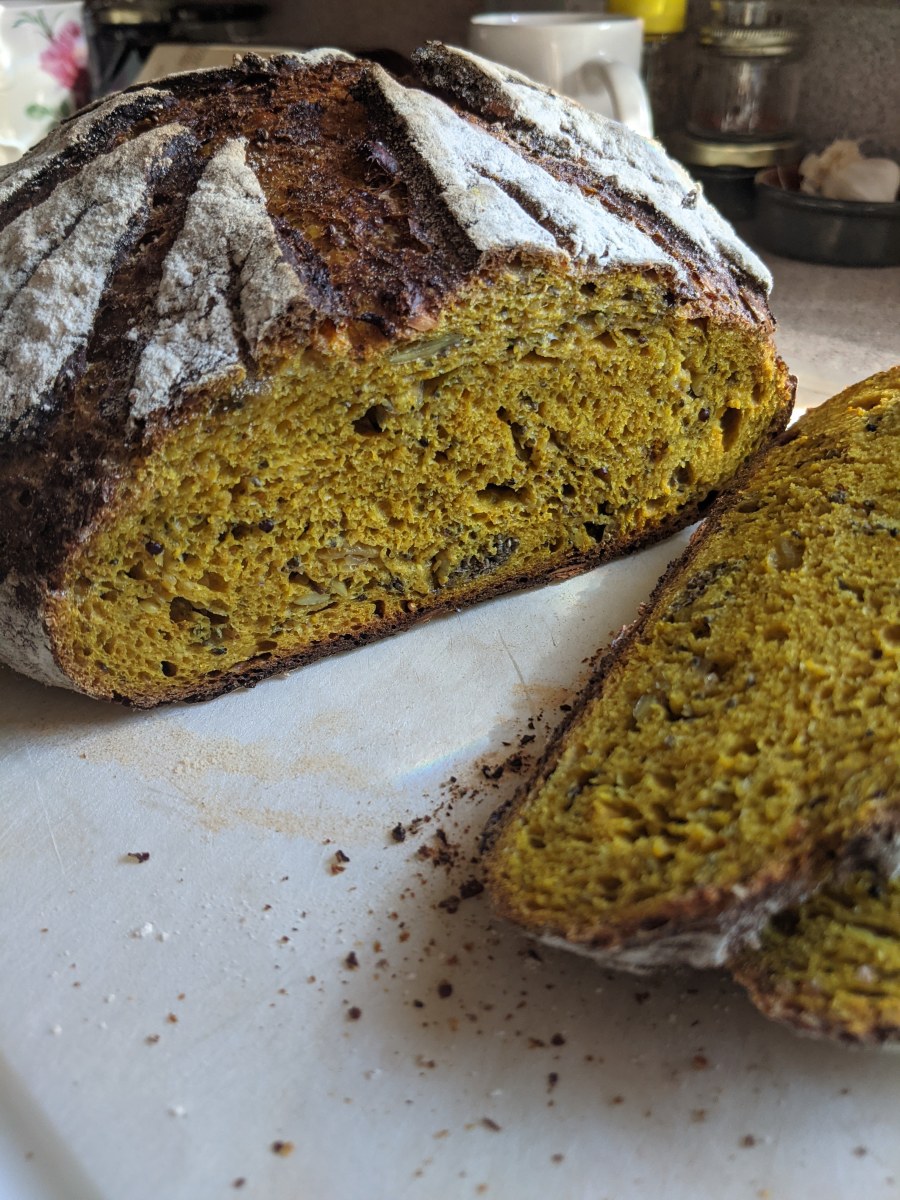
This loaf, apart from being a gorgeous and cheery bright yellow, desperately needed in depressing, grey February, is delicious. The turmeric and onion are not aggressive enough to make the bread incompatible with any kind of topping you desire, but also gives it a subtle sweetness and warmth. But, most importantly, it’s really, really pretty.
Recipe
Ingredients:
For the Soaker:
20g Hemp Seeds
20g Chia seeds
25g Quinoa (any variety)
25g Flax Seed Powder
25g Sunflower Seeds
155g Hot Water
Half a large white onion
For the Dough:
50g Sourdough Starter previously fed, bubbly and active
300g Room Temperature Water
15g Maple Syrup
275g Bread Flour
175g Whole Wheat Flour
50g Rye Flour
16g Sea Salt
1-2 tablespoons Turmeric (depending on taste)
Method:
For the Soaker:
Dice up the onion.
Sauté in butter or olive oil with salt and pepper to taste until softened and nicely caramelized.
Let cool.
Mix together all the mix-ins (besides the onion) in a bowl and pour in the water. Set aside while you mix the dough.
For the Dough:
In a large bowl, whisk together the starter, water and maple syrup together with a fork until dissolved.
Add the flours, turmeric and salt and mix with the fork until the dough is incorporated, but still looks shaggy. There may still be some dry spots, but try to incorporate all the dry flour from the side of the bowl.
Cover bowl with saran wrap or a damp tea towel. Allow the dough to rest for 30 minutes.
After 30 mins, mix the soaker and the cooled onion into the dough. Dump the soaker and onions on top of the dough and knead it into the dough. It may seem wet and like it won’t incorporate, but just keep going for a few minutes, and it will all disperse evenly.
Let the dough rest for 45 minutes.
After the 45 minutes, fold the dough. To do this, grab a portion of the edge of the dough in the bowl and stretch it, but don’t let it tear, and fold it into the center of the dough. Work your way all around the dough.
Let the dough rest another 45 minutes.
Stretch and fold the dough again.
Let the dough rest another 45 minutes.
Repeat the folds.
Optionally, repeat this 1-3 more times depending on the hour of the day.
After the last fold, cover the bowl and allow to rise 8-10 hours if your kitchen is warm, and 12-15 hours if cold (this usually means overnight for me since I finish stretching the dough in the evening) at room temperature. The dough should double in size or at least grow significantly.
In the morning, carefully scrape the dough out of the bowl and onto a clean work surface.
Stretch and fold the dough like you did in the bowl, and then flip it over seam side down.
With either lightly floured hands or slightly wet hands, cup your hands around the dough and pull it clockwise so that it becomes dome-shaped. The dough will become round and the top of it will have a tight skin.
Once the surface is taut, dust the top of the dough all over with flour.
Carefully scoop the dough into either a floured brotform or a bowl with a floured towel inside, and let it rest seam side up. Sprinkle the bottom of the dough with flour.
Cover the bowl or brotform with a damp tea towel or saran wrap and let rest for 45 minutes. The dough may rise a little, but it will not grow very much.
Close to the end of the second rise, preheat the oven to 500F and place your cast iron pot inside.
When the oven is close to 500, turn the dough out of the bowl or brotform, onto a piece of parchment paper.
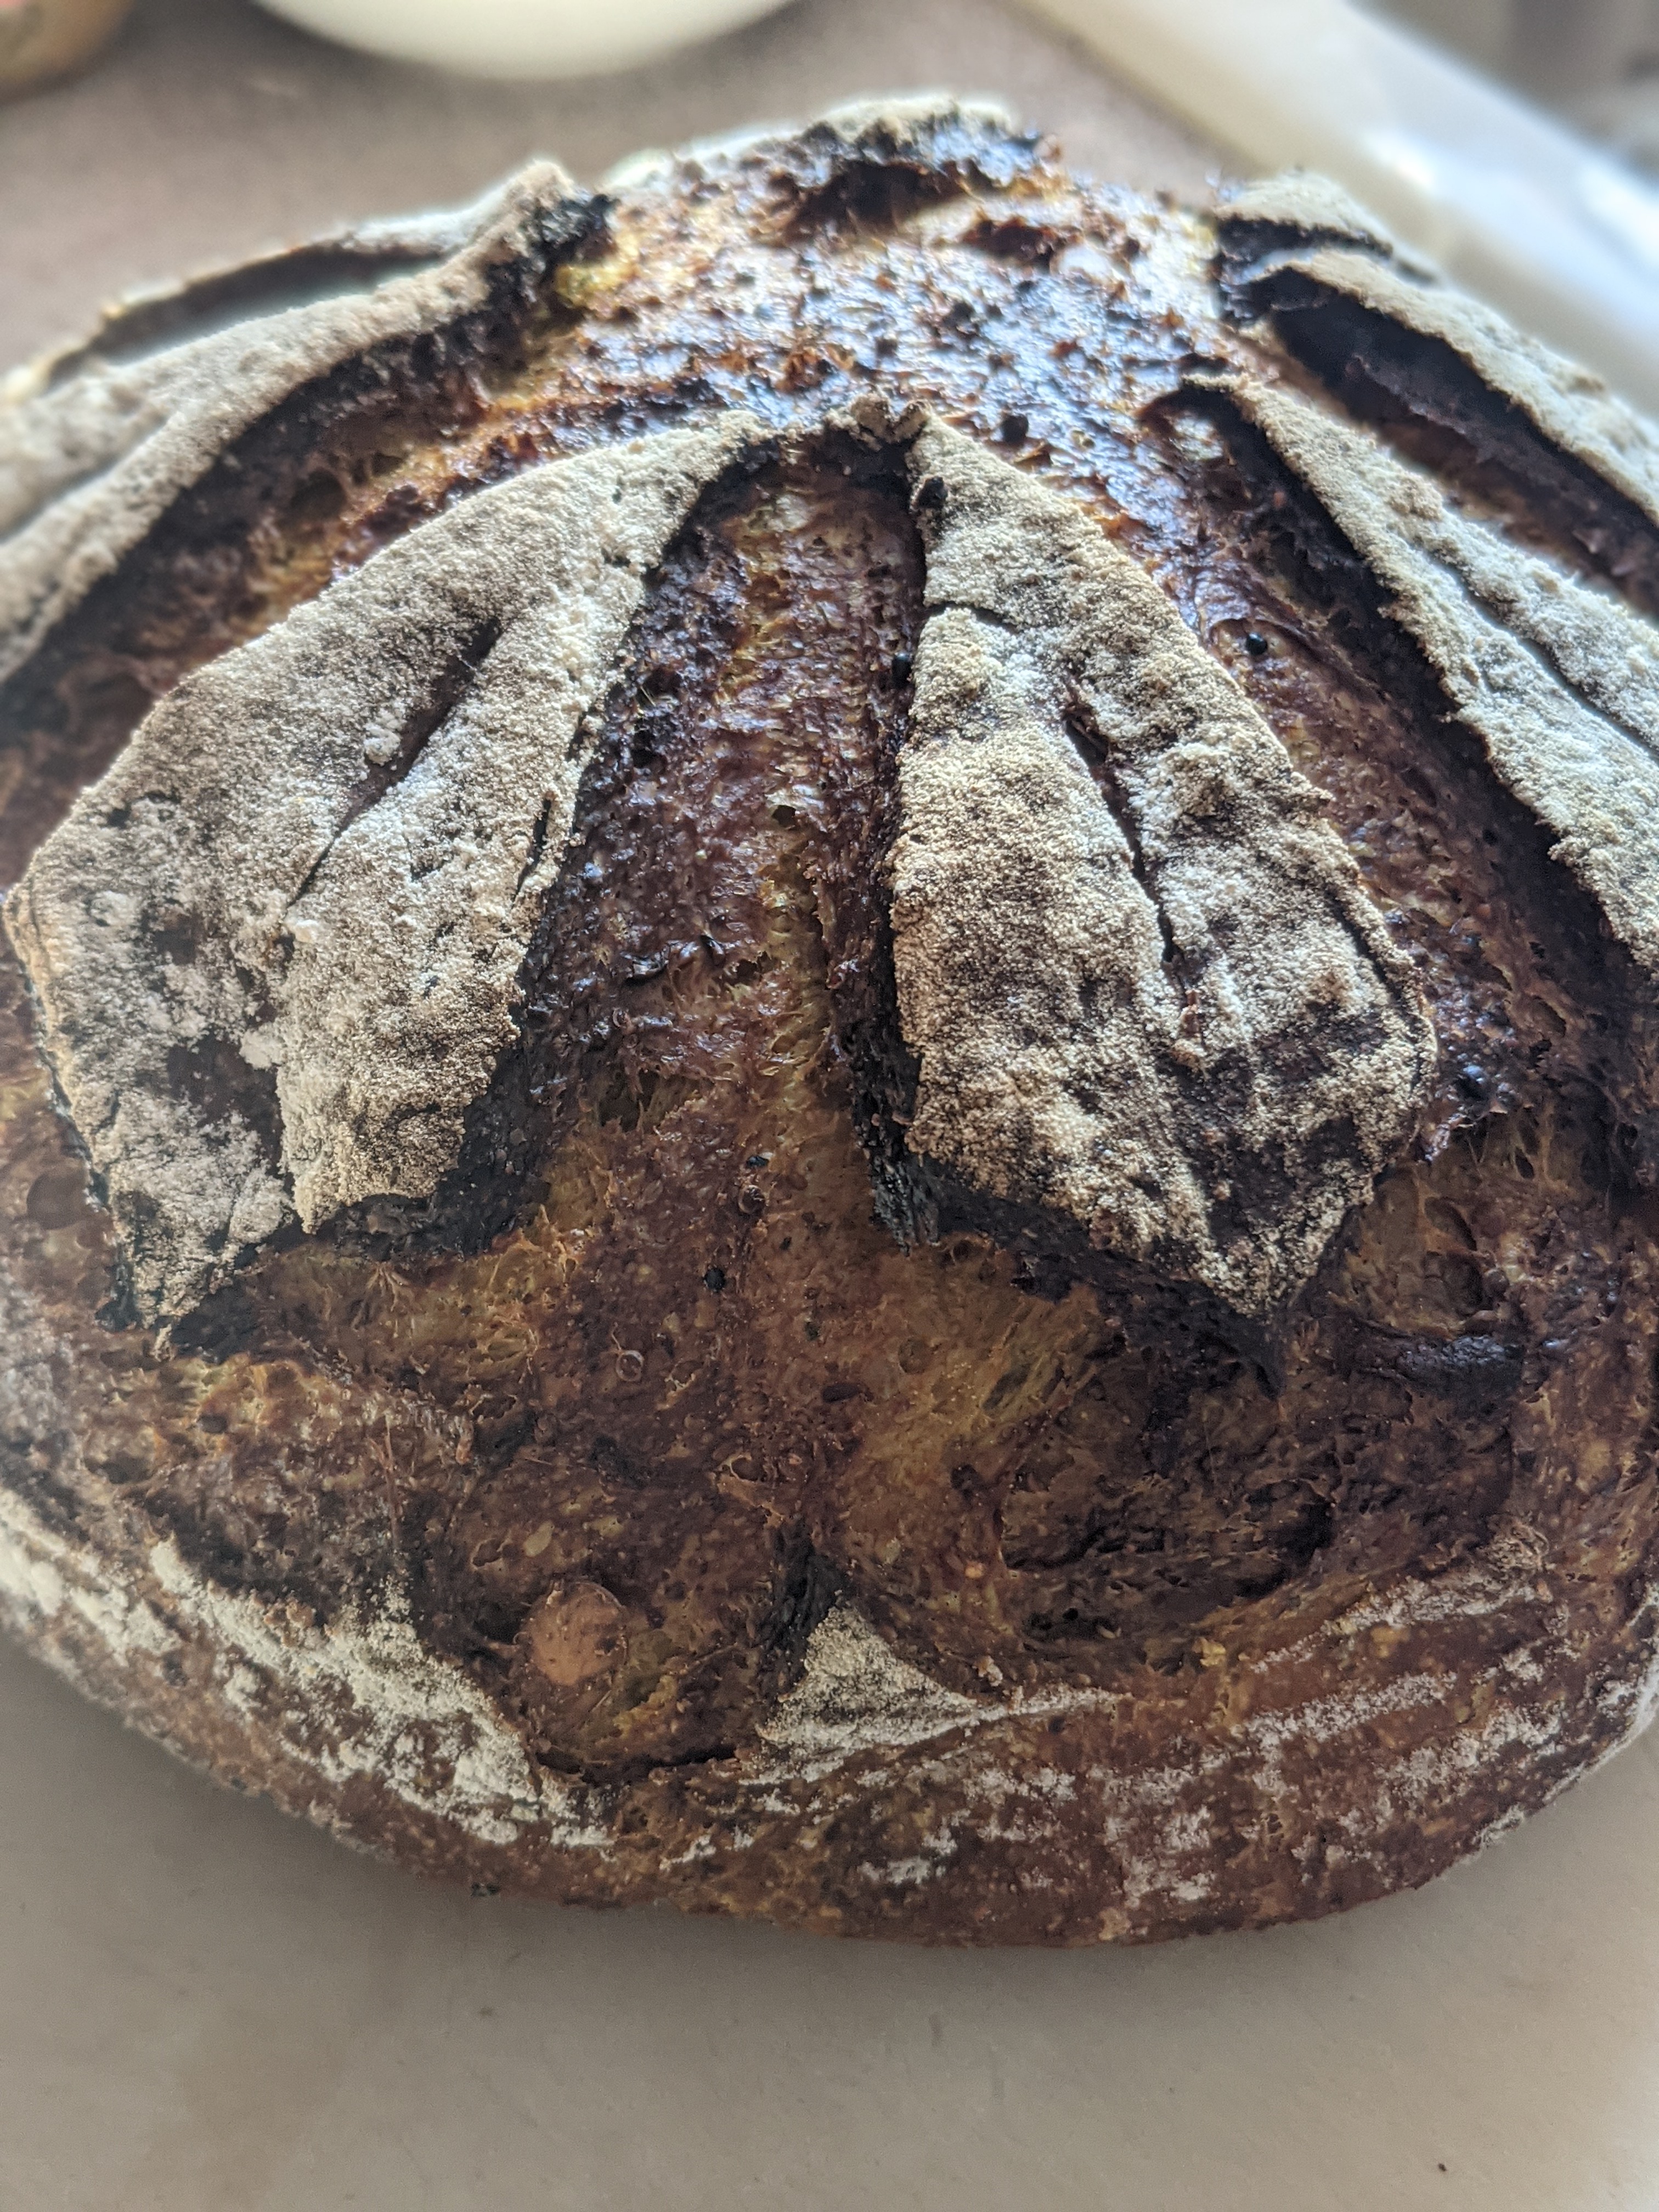
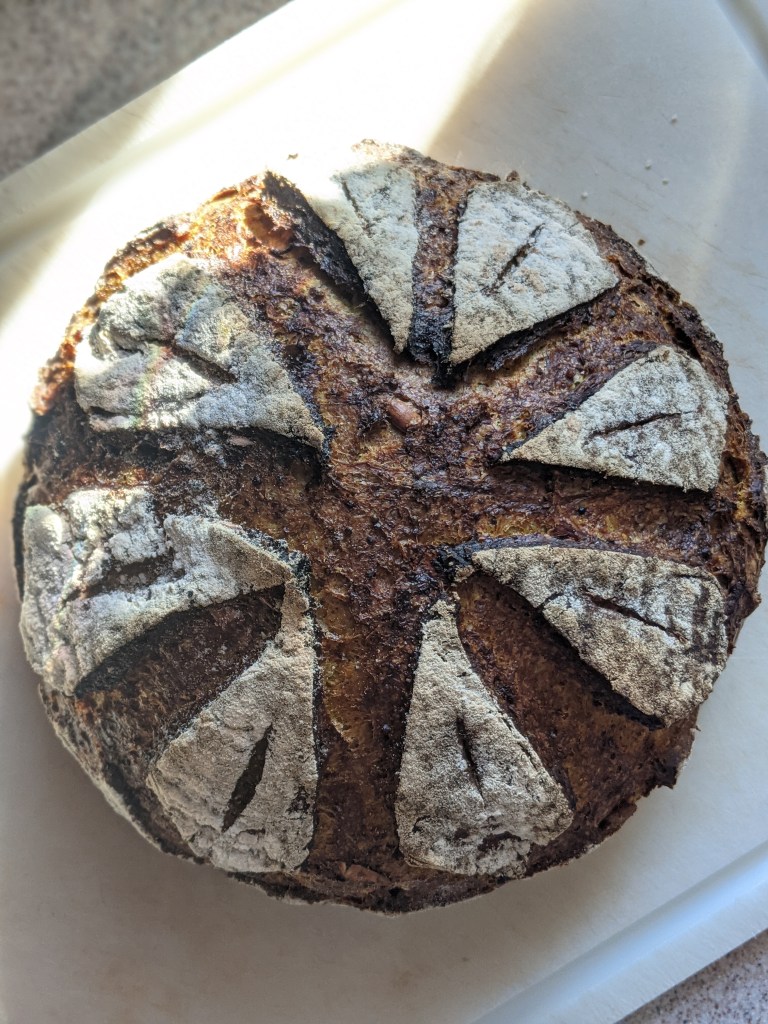
Using either a razor blade, bread lame, or very sharp knife, score the dough however you wish. Carefully place your bread in the pot, holding on to the parchment paper, and cover.
Bake for 25-28 minutes.
Uncover the pot and lower the temperature to 450F. Bake for another 22-25 minutes.
The bread is done when you knock on the bottom and it sounds hollow.
For the crustiest result, remove from the cast iron and place in the off but still warm oven to cool, with the oven cracked open a couple of inches.
Let cool completely before slicing.
